Tuesday, April 3, 2012

I'M DONE! DIY Barbie House


I should clarify, the TV and basket you see, are not on top of the barbie house. They are on top of the dresser hidden behind the barbie house. 

 entertainment center in the gaming room. I need stuff for the shelves.
 Justin Beiber on the wall! LOVE IT for the teen's room
This ended up being my fav room. Kitchen made completely from scratch!

 Chairs are pringle cans!


Saturday, March 31, 2012

DIY Barbie Fridge, Sink, and Garden

I will say officially that duct tape, hot glue and cardboard are my best friends. :) I am less than a week away from presenting this dollhouse to my daughter and she is going to FREAK!


For the fridge I used:
a lasagna box
duct tape
foam board
scrapbook paper
toothpick
beads
Magnets


Yes, you do see paint on my leg. lol


I also made a very imperfect garden today.  I was one square of grass short (don't you hate that?) so I will have to go buy another sponge :/  I used popcicle sticks, beads, tops of sponges, and sample carpet from home depot for the dirt.  In the grass area I am going to put a slide and a dog house.


Saturday, March 17, 2012

Barbie House Finished!

Almost...
I just have to furnish the bathrooms and the office/playroom.  I also am going to divide my rooms with Foam Board. Then, I will be finished.
I would recommend to anyone doing this to purchase already made shelves. They ended up being a big headache.
Sorry for the bad lighting, I'll try to get better ones later,


Living Room: Tan Walls, Wood Floor
Couch: homemade
Bookshelf: homemade
Fireplace: thrift store purchase
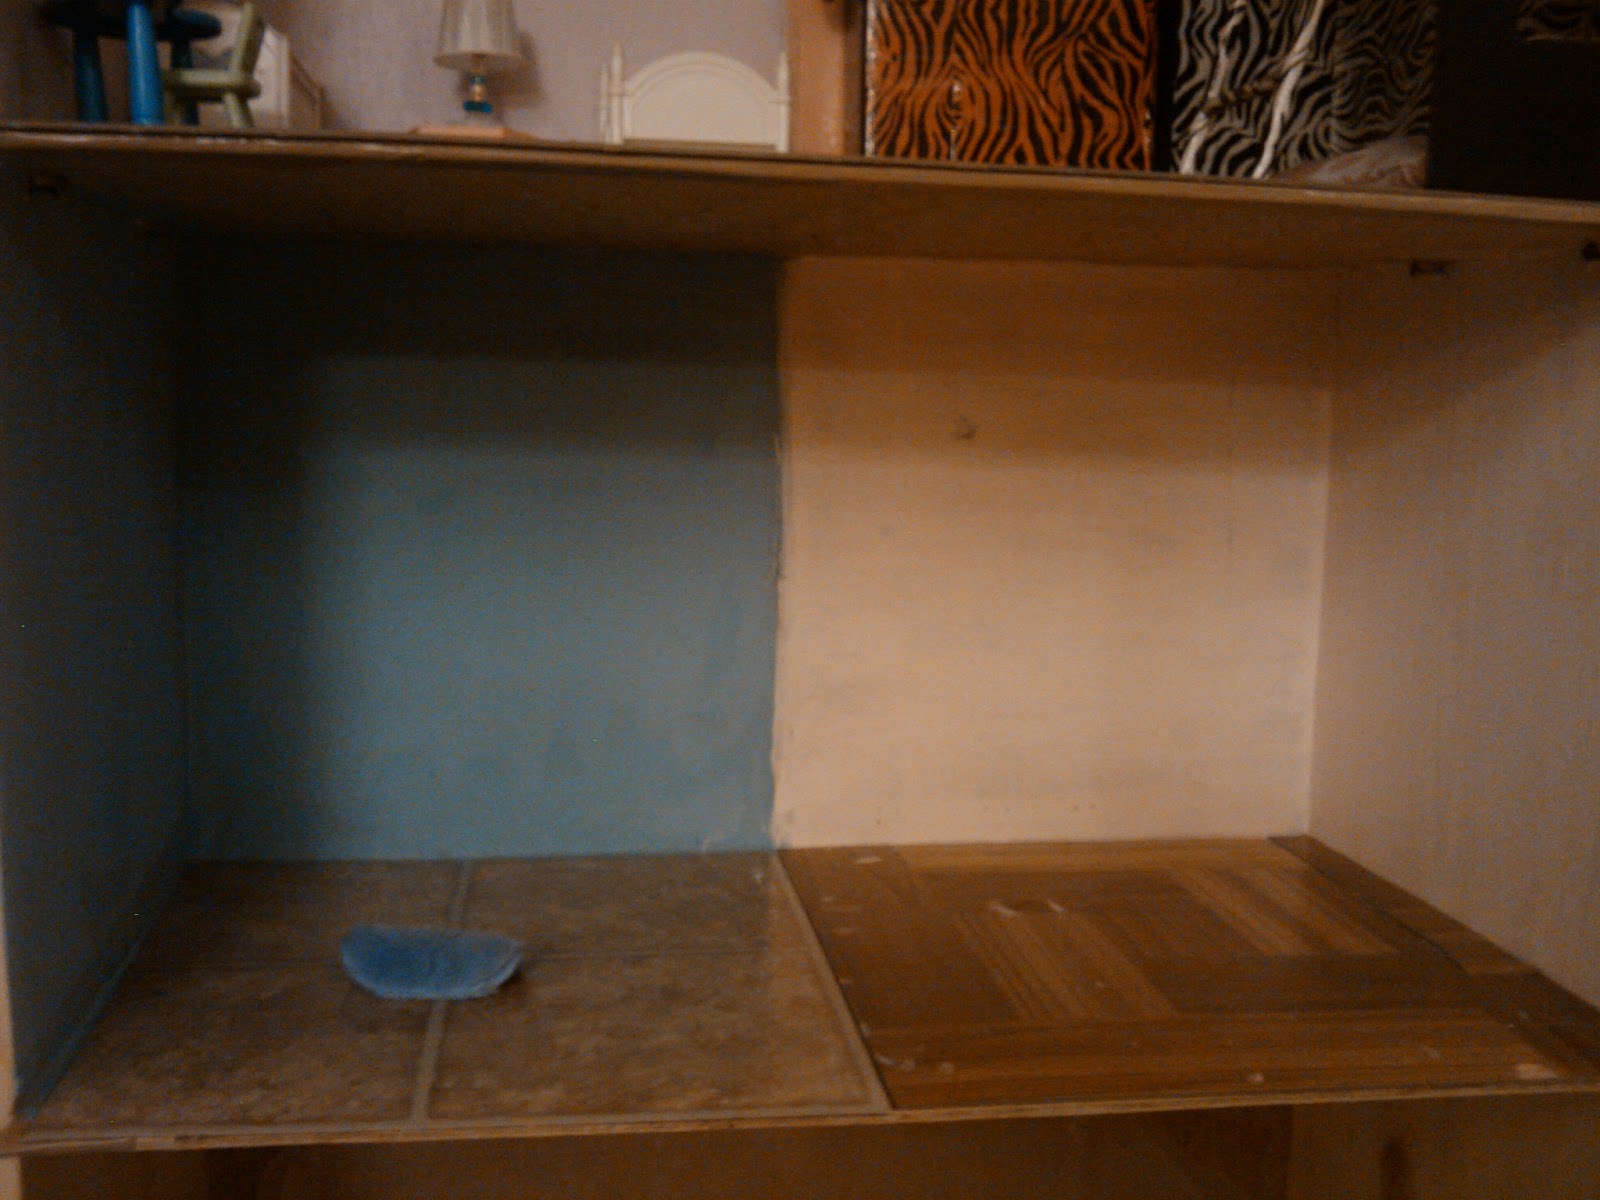
 Kitchen: Grey Walls, Tile Floor (vinyl)
Stove/fridge: Barbie Furniture we already owned
Dining room table: Thrift Store--still need to finish
Rug: Old Burp Cloth


 Barbie's Bedroom: Tan Walls, Wood Floor
Bed: Homemade
Dresser: Barbie Furniture we already had
Lamp: homemade

Bathroom: Blue Walls, Tile Floor
NOT Furnished yet

Still need a wall between these two rooms


 Baby/Toddler Room: Purple Walls, Wood Floor
Beds: already owned
Nightstand: Thrift Store
Lamp: homemade
Table/Chair: already owned

Teenager's room: Pink walls, wood floor
closet: homemade
Bed: homemade
Still need a wall between these two rooms
 Bathroom/Laundry Room: Blue Walls, Tile Floor
Unfurnished as of now

Office/Playroom: Tan walls, Wood Floor
Unfurnished as of now


Still need a wall between these two rooms


Storage shelf: Still needs paint :/

Friday, March 16, 2012

**Picture loaded** Barbie Closet, Bunk Bed, Couches, Bookshelf, etc

Tonight was SOOOOOOOOOOOOOOOO FUN!

Please see my awesome pictures below. Yes, I did MAKE all of this with stuff laying around the house. Please don't make fun of the background of the pics (aka by bathroom)...that is the room with the best lighting.


Living Room Stuff:   I came up with the couches all by my big girl self! I really wanted Barbie to have a sectional to go around that photo box I bought from the thrift store. I really just pieced it all together and couldn't be prouder. The coffee table was an item bought from my local thrift store for 50 cents. It was an old jewelry box. I painted it white and walla! The Bookshelf was SO easy and make (see below) and it will be the perfect spot to add detail in my (I mean my daughters) Barbie house. You will also see in the pics a fire place.  This was also a thrift store item for $25 cents or so and I just painted it white. It used to be some sort of plaque I think? Wanna learn how to make all this stuff? Scroll to the very bottom :)


The Teenager's Room (aka skipper or stacey):  This room was very very easy and I love the results. I made a bunk bed (using the bottom of a shoe box), and a closet/wardrobe (complete with a purse rack). I got both the ideas from youtube videos (scroll to the very bottom if you want to learn).  I still need to make pillows and blankets (maybe old burp cloths?) for the bunk bed and I need to make hangers that are  big enough to go around the rod in the wardrobe.  I also made a lamp for this room.  Very in love so far.


How to Make:
Couches

  • Supplies: sponges (the quantity depends on the type of couch you want), cardboard, fabric, cotton balls (or stuffing) hot glue gun.  
  1. Glue the sponges together (I made mine so that the hard top of the sponges were glued to each other, that way the top and bottom of my couch were soft and cushioned). 
  2. cover with fabric, glue fabric in place. Make sure the fabric is nice and tight so the lines look clean. 
  3. Cut out the back of your couch using card board
  4. Cover loosely with fabric and glue 3 sides in place, leave one side open to insert cotton balls/stuffing
  5. glue last side in place
  6. glue the back onto the bottom
Bookshelf:
  • Supplies: shoe box lid, cardboard (or foam board or Popsicle sticks), hot glue gun
  1. First think of the layout you want for your bookshelf. 
  2. cut pieces from the cardboard (or equivalent) for the shelves
  3. glue in place
  4. spray paint if needed (mine is spray painted)
  5. **note that the bookshelf is light weight and can easily tip over. mine stays up just fine when its against a wall
Wardrobe:
I still need to add a mirror to mine. Also, my box wasn't as large as hers.

BunkBed:
I used duct tape instead of scrap paper. I also glued my "mattresses" to the bed. I cut out a window for fun.  I used dowels bought at walmart for the ladder (covered in duct tape).  I didn't put my bed on water bottle lids.

Lamp:
  • Supplies: toothpick, bottle cap, sauce cups from mcdonalds, beads
  1. glue a bead to the bottle cap
  2. insert toothpick in the bead (I put glue on my bed, then inserted the toothpick for extra support)
  3. bead toothpick almost to the top
  4. poke a hole in sauce cup, place on the toothpick
  5. glue 1-2 more beads on top so that no toothpick sticks out

Thursday, March 15, 2012

No Sew Barbie's Bed (So proud of myself)

THE COOLEST PROJECT EVER!


Supplies:
4 Pencils unsharpened
Cereal Box big enough for barbie
rectangle shaped White fabric (I used an old shirt and cut it)
Cardboard
duct tape
stuffing

1. cut a headboard using cardboard, cover with duct tape
2. Place fabric on top of cereal box and duct tape 3 sides down
3. stuff the open side of the fabric so that it creates a matress look, then duct tape this last side down
4. cover your pencils with duct tape
5. duct tape the box all the way around, inserting the pencils as you go, repeat so there are 2 layers of tape
6. duct tape the head board on

Walla! Barbie's bed.  I'm going to make some pillows and a comforter too. LOVE this piece of furniture!

Wednesday, March 14, 2012

Side Project-DIY Nail Polish Rack

Found the inspiration for this idea on youtube (yes...I am an internet junkie).
http://www.youtube.com/watch?v=v-QmkFhLfHg&feature=youtu.be

the problem is I don't have enough nail polish to fill up that big of a rack but I have too much to keep under the bathroom sink.

I used the idea from the video but with my own measurements.

Supplies:
2 Foam Boards (2.00 each)
Exacto Knife (1.50)
Glue Gun (2.99)
Glue Sticks (2.00 for a pack)
Ruler
Chalk or pencil or other erasable drawing object
Decorative Duct Tape-Optional
Total= $5.50-$10.00

I cut one of my foam boards hamburger style in half (about 15 inch)
Keep one half for the backboard
with the other half, cut two pieces for the sides at 3 inches each
Set the remaining of that board aside


with the second board, again cut it in half just like you did the first
then cut 6, 2.5 inch strips (see pic) for the top, bottom and 4 shelves
Optional: cut 1 inch strips for lips on the shelves and bottom (I didn't do this)


Glue the shelves on first using a glue gun, then glue on top and bottom, then glue on sides

Finish the look with duct tape like the video shows (optional).

Hang on the wall and TADA!

More Barbie House Supplies

Went to Walmart today to grab milk and walked out with all this stuff in addition:


here is a break-it-down left to right

  • little white cups (the sauce cups from McDonalds) will be lamp shades--FREE
  • Super Glue just in case--97 Cents
  • pencils will be bed posts-97 Cents for the pack
  • sponges will be cut so that the green part will make up grass for the yard and the yellow part will make up the bottom of my section style couch-each package with two sponges was 97 Cents
  • Duct Tape to cover furniture, cover the bedposts, misc work (pink zebra, black zebra, black, turquiose and tan)-$3.47 each<<not sure if that was a good price or not but they will last a while hopefully
  • Photo Box. Top will be made into a bookshelf, bottom will be made into a bunk bed-$3.00
  • Glue Gun-$2.99 (lifetime investment! lost my old one)
  • Glue sticks-$2.00
  • Dowels-used for bunk bed ladder, trimming/molding, chairs, misc work-$$1.00
  • Exacto Knife- (Again a lifetime investment! can't believe I didn't own one)
  • Spray Paint-for furniture-$1.97 each
  • Bag of Foam Paint Brushes- Some brushes will be used for paint jobs, others I will pull apart the paint brush and use the foam for stuffing/shaping and the stick for...I don't know yet $1.50
  • Beads-used for door handles, knobs, chandelier, lamp, misc work-$12.00 (Investment for future projects as well)
Total Price for Today: $49.13
Total Price so far: $54.13